Weapons and Equipment
Compare Warhounds weapon stats, learn reloading and equipment basics, and follow the Swift Recon Drone purchase and deployment guide.
Check weapon stats, reload costs and equipment options before choosing a loadout. The weapons guide includes screenshots of item descriptions and examples showing how actions change AP and ammunition.
Need a drone? The Swift guide follows Workshop construction, purchase, squad assignment, movement, shooting and evacuation. It also explains which details, including repairs and ammunition replenishment, still need testing.
Choose Equipment for the Mission
Read the objective and think about the distances and routes your squad will face. Choose weapons and tools for the difficult parts of the mission, such as crossing exposed ground, rescuing someone or reaching an extraction point.
Compare the full item name and its displayed stats: used or upgraded variants can differ. Read the reloading examples to see how to check the action cost and ammunition change before committing.
Check Your Options Before Deploying
Review each soldier’s equipment and abilities together. Make sure the squad has a way to handle a missed shot, an injury or a blocked route. A useful support item can matter more than another weapon suited to the same job.
The combat guides explain aiming, cover and Overwatch, while the class guides help you compare squad roles. For drones, follow the purchase and deployment guide and check the notes beside each tested action.
Weapons and Equipment
2 articlesWarhounds Swift Drone Guide: Buy, Deploy, Control & Evacuate
Buy Swift in the Workshop, deploy beside four soldiers, use Maneuver and shooting, then evacuate and check its return. Includes Hunter Drone patch context.
Last updated: 10/31/2026
Read guide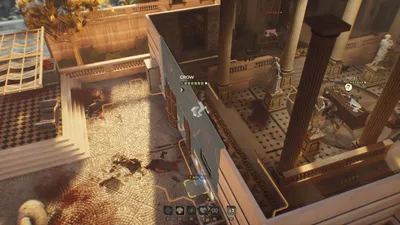
Warhounds Weapons and Equipment: Reloading and Gear
Reload your weapons, compare four weapon stat panels, buy a Swift drone through the Workshop, and find the available armor and equipment in Warhounds.
Last updated: 10/31/2026
Read guide